Coordinate Retail Signage with Your Shop Fit-Out: From Brief to Handover
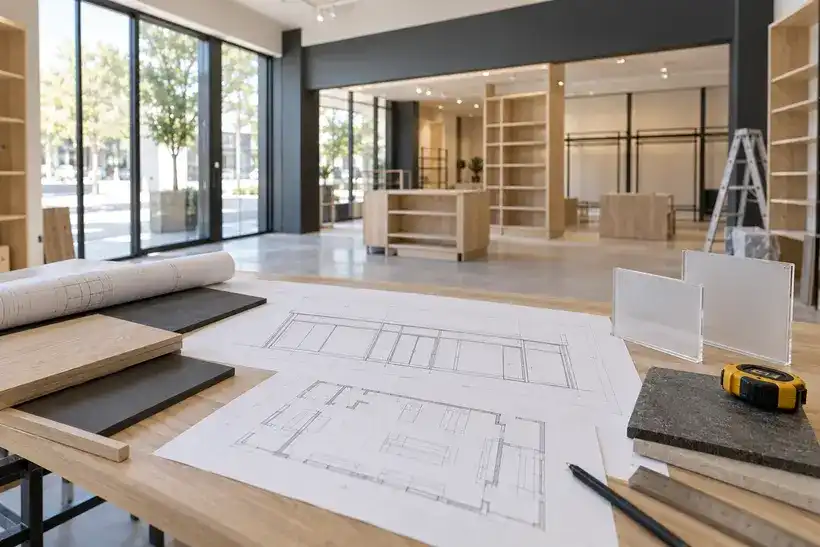
A retail fit-out brings together joinery, lighting, finishes and the practical details of opening a shop. Signage belongs in that same conversation. A fascia may look simple on a drawing, yet its size, fixing surface and power requirements can affect decisions that other trades need to make much earlier.
The aim is to give every sign a clear purpose and a workable place in the finished store. Planning the sign package alongside the fit-out helps the project team identify gaps while changes are still manageable. It also gives the retailer a better chance of receiving a store that is ready to use on handover day.
When comparing signage melbourne options, give prospective suppliers the same frontage information, floor plan and intended opening sequence. Ask them to identify what they need confirmed before quoting or making the signs. A shared brief makes the discussion more useful than sending a logo and asking for a price.
Put the signs into one coordinated schedule
Create a list of proposed signs and give each one an identifier. Include its location, intended message, approximate size, proposed format and the person responsible for confirming it. Use that identifier on the relevant drawing and in the quote, so the team can discuss the same item without relying on descriptions such as “the panel near the door”.
A useful schedule separates the permanent store identity from information that will change. The main business name, a department marker and a seasonal offer have different jobs. They may also need different materials, replacement methods and review dates.
Michael Keenan's July 2026 retail signage guide for Shopify distinguishes storefront, wayfinding, promotional and digital signs. Those categories can help you organise the scope. For a fit-out, add the practical fields that your project needs, such as drawing reference, approval status and installation responsibility.
Keep one current version of the schedule. Record changes and tell the affected people which earlier version has been replaced. A small wording revision can matter if artwork has already been released or a panel has been ordered to suit a particular mounting area.
Walk the route before choosing every sign
Imagine a visitor approaching the store for the first time. Where will they recognise the business, find the entrance and understand the main areas inside? Mark the points where they need information, then check whether the proposed layout already makes the next step obvious.
The August 2026 wayfinding guide from JS Retail Displays starts with the customer journey and considers the effect of fixtures on visibility. Apply that idea to the actual fit-out drawings. A sign can lose its purpose if a tall display or open door blocks the intended view.
Our retail store layout guide is a useful companion when reviewing the floor plan. Read the sign positions and fixture positions together, including the route to a service counter, fitting room or collection point where those features are part of the store.
Avoid adding a sign wherever the plan looks empty. Each proposed message should answer a question that a visitor may reasonably have in that location. This keeps the package focused and leaves room for merchandise to do its own work.
Resolve the physical interfaces early
Backing, surfaces and fixings
Ask the sign supplier and fit-out team to confirm what each sign will attach to. A decorative finish may conceal a different construction behind it, and a drawing may not show the support needed for a particular sign. Have the relevant trades review the mounting arrangement before the surface is closed or finished.
Record who supplies any backing, who confirms the site dimensions and who approves the fixing proposal. These are coordination questions for qualified project participants, rather than details to improvise during installation. If an existing surface differs from the drawings, pause the affected item and obtain a revised decision.
Glazing and window displays
Window graphics need to work with both the glass and the display behind it. Check which side of the glass is involved, how the graphic will be seen from outside and whether doors or display fittings interrupt the design. Ask the supplier to confirm compatibility with the specific glazing and proposed application.
Review the inside view as well. A graphic intended to attract attention from the street may obstruct a display that the retailer wants customers to see. Put both elements on the same elevation so the discussion happens before either is finalised.
Power, lighting and access
An illuminated sign introduces electrical and maintenance requirements. Confirm the proposed power arrangement with the relevant qualified trades, including who provides it and when it must be ready. Ask how the sign will be accessed for inspection or repair after the fit-out is complete.
Barrett Exhibition Group's October 2026 shopfront design guide discusses the relationship between signs, frontage and day-to-night visibility. Although its examples are from Perth, the design question is useful elsewhere: review the proposed appearance in the lighting conditions in which your shop will operate.
Do not approve lighting only from a small screen image. Discuss a suitable sample or demonstration with the supplier where practical, and review it alongside the surrounding finishes. The project needs a coordinated result rather than separate approvals that look different when installed together.
Name the person who owns each decision
The retailer, designer, shopfitter and sign supplier may all contribute to the package. That does not make them responsible for every part of it. Agree who confirms wording, dimensions, artwork, mounting details and installation readiness, and keep the decisions in the project record.
For a leased premises, establish how the landlord or centre's review fits into the programme. Ask which drawings and specifications they need, and who submits them. Check the relevant council and project requirements with the appropriate advisers before committing to manufacture; an artwork approval within the team does not settle every external requirement.
Treat any specialist building, safety or accessibility signage as a separate coordination item with the appropriate qualified advisers. A branding concept cannot establish that those requirements are satisfied. Keep the required review visible in the schedule so it is resolved through the proper project process.
Compare quotes against the complete scope
A headline price can hide differences in what is included. Give suppliers a common schedule and ask them to identify assumptions and exclusions. Check whether the price addresses artwork preparation, site measurement, manufacture, installation and any removal of existing signs that the project needs.
Access can also affect the work. Tell the supplier about known site restrictions, the proposed installation period and any arrangements that must be coordinated with other trades. Ask them to state what they need from the project team before attending.
Keep a separate record of optional items. A digital display, extra window treatment or additional illuminated element may be worth considering, but the retailer should be able to distinguish it from the agreed base package. This makes scope decisions easier when the fit-out budget changes.
Include aftercare in the discussion. Ask what information will be supplied for cleaning, replacement graphics, lighting components and any warranty terms. Do not assume that a visually similar quote offers the same service or replacement arrangement.
Release artwork after the necessary checks
Provide the current logo files, colour references and approved wording in an organised brand pack. Make it clear which files are final and who can approve changes. If the supplier needs to recreate artwork, agree that scope before treating a draft as ready for production.
Review the proof against the sign schedule and the relevant elevation. Check the business name, spelling, contact information where used, and the hierarchy of the message. Confirm that the dimensions and site conditions have been checked by the responsible people rather than inferred from a photograph.
A proportionate mock-up can help the retailer understand the size of a sign in its setting. Ask the project team how best to review this for the particular store. The purpose is to make a decision about scale and placement while changes can still be made, rather than to create another presentation image.
Give written approval to a clearly identified version. Record what has been approved and whether any conditions remain. This is particularly useful when the storefront and interior signs reach their approval stages at different times.
Sequence signage with the other trades
Add the sign package to the fit-out programme, including the decisions that must happen before manufacture and installation. The Melbourne business fit-out timeline guide discusses the broader project sequence. Use your own contractor's programme to establish the actual dates and dependencies.
Installation readiness may involve finished surfaces, confirmed power, suitable access and the completion of nearby work. Ask the installer what needs to be ready and have the site team confirm those conditions. A calendar date alone does not establish that a location is prepared.
If another trade's work changes the planned sign position, update the drawings and schedule before installation. Avoid solving a late conflict by moving the sign to a convenient gap without checking its visibility and purpose. The location is part of the design decision.
Leave time for review after installation. The opening date should not be the first opportunity to discover that wording, illumination or a mounting position differs from the approved package.
Inspect the result as part of handover
Walk the store with the sign schedule and record the status of each item. Check the installed wording and appearance against the approved version, then look at the signs from the routes visitors will actually use. Review the storefront from the available approaches and inspect internal signs with the fixtures in place.
Our retail store fit-out checklist provides a broader opening review. Add signage-specific notes to your own handover record, including outstanding work, the responsible person and the agreed next step.
Collect the relevant care instructions, product information and final artwork files that the contract provides. Agree how the retailer will order replacement graphics or request service. For changing messages, identify who will update them so an expired promotion does not remain part of the finished store.
A small boutique example
Consider a fictional boutique with a main fascia, a seasonal window graphic and an interior collection counter. The original layout places a tall display between the entrance and the counter. Before artwork is released, the team reviews the route and shifts the display, allowing a modest counter identifier to remain visible.
The same review finds that the fascia needs a mounting detail confirmed before the frontage finish is completed. The shopfitter and sign supplier resolve the interface and record who provides each part. The retailer then approves the artwork against the updated elevation, with the seasonal graphic kept separate for future replacement.
No dramatic redesign is needed. The value comes from connecting ordinary decisions before they become separate pieces of finished work. The sign schedule, layout and programme all describe the same store.
A finished store should read as one place
Signage works best within a fit-out when its message, position and construction have been considered together. A clear schedule, named decision owners and a practical handover review make that coordination easier to manage. The result is a store where the signs belong to the space and help people use it comfortably from the first visit.